Microservices, Macro Impact: Building Scalable Apps with Docker
Microservices, Macro Impact: Building Scalable Apps with Docker
1. INTRODUCTION
Lately, Microservice Architecture has become quite the buzzword, with many in the industry shifting toward distributed systems. With Docker being widely adopted, this move actually seems like a smart step forward. But what exactly is a Microservice? And how do we design a Microservice Architecture?
Let’s start with the why. A Microservice Architecture ensures loose coupling and isolation, where each service focuses on a specific task, making the overall application more reliable, scalable, and easier to maintain.
Now, coming to the how. In this post, you’ll see exactly that through a simple Account Creation Application, built using just two microservices, Kafka, and MongoDB.
2. OBJECTIVES
2.1. Backend Implementation: Microservice Communication using Kafka
· To design and develop a microservice-based backend system consisting of two Spring Boot services, a Producer Service and a Consumer Service.
· To implement event-driven communication between the two services using Apache Kafka.
· Configure the Consumer Service to store account details in a MongoDB database and send email confirmation notifications.
· Containerize both services using Docker for consistent deployment across environments.
· Test message flow and verify database and email functionality in a controlled local Docker environment.
2.2. Frontend Integration: Connecting UI with Backend Services
· To integrate a simple frontend application (React or basic HTML/JS interface) with the backend microservices.
· To enable users to create/delete new accounts through the frontend and verify the backend response via Kafka and database updates.
· To containerize the frontend along with backend services using Docker Compose for unified deployment.
· To add a Docker, Compose configuration that connects all microservices (producer, consumer, frontend, Kafka, and database) under a common Docker network for seamless communication.
2.3. Enhancing Docker Security
· To enhance container security by removing the default root user and running all services under a non-root user for safer privilege management.
· To store sensitive credentials (such as database passwords and API keys) securely in a .env file, preventing them from being hardcoded in Docker files or Compose files.
· To update the Docker Compose configuration to reference environment variables from the .env file, ensuring consistent and secure deployment across environments.
3. CONTAINERS INVOLVED
|
CONTAINER NAME |
PURPOSE |
BASE IMAGE / SOURCE |
|
zookeeper |
Manages Kafka cluster coordination |
https://hub.docker.com/r/confluentinc/cp-zookeeper |
|
kafka |
Message broker for inter-service communication |
https://hub.docker.com/r/confluentinc/cp-kafka |
|
mongodb |
Database for storing account details |
https://hub.docker.com/_/mongo |
|
producer |
Spring Boot microservice producing Kafka messages |
https://hub.docker.com/repository/docker/kath168/producer-service |
|
consumer |
Spring Boot microservice consuming Kafka messages and sending email |
https://hub.docker.com/repository/docker/kath168/consumer-service |
|
frontend |
Web-based UI for account creation |
https://hub.docker.com/repository/docker/kath168/frontend |
4. SOFTWARES INVOLVED
|
SOFTWARE |
PURPOSE |
|
Docker Desktop |
Provides a local environment to run and manage all containers |
|
Docker Compose |
Defines and runs all containers together using one docker-compose.yml file |
|
Spring Boot |
Used to develop the Producer and Consumer microservices. |
|
Apache Kafka |
Handles communication between microservices. |
|
JavaMail |
Sends email notifications when an account is created |
|
IntelliJ |
IDEs used for coding and debugging microservices |
|
GitHub |
Version Control |
|
Docker Hub |
Used to upload and share container images. |
5. OVERALL ARCHITECTURE
5.1. Components
· Frontend: Sends account creation request to Producer.
· Producer: Publishes “account-created” event to Kafka topic.
· Kafka: Transfers message to Consumer service.
· Consumer: Listens to topic, sends email, stores data in MongoDB.
· MongoDB: Stores user account information.
5.2. Architecture Diagram

Figure 1 : Overall Architecture

Figure 2 : Docker Environment and Port Mapping
5.3. Description
The system uses Docker port mapping to expose services: React frontend (3000), Producer API (8081), Consumer service (8083), MongoDB (27017), and Kafka (9092). This allows external access via localhost while maintaining internal Docker network communication.
The React frontend on port 3000 provides the user interface for account operations, communicating with the Producer service via REST APIs. The Spring Boot Producer service on port 8081 handles all account CRUD operations, acting as the core business logic layer. It processes requests, validates data, and manages MongoDB interactions for data persistence.
MongoDB stores account documents with user information and system-generated fields. For account creation events, the system leverages Apache Kafka for asynchronous messaging. When accounts are created, the Producer publishes events to Kafka's "account-events" topic, enabling reliable, decoupled communication between services.
The Consumer service on port 8083 specializes in processing these Kafka events. It listens continuously to the account-events topic and triggers email notifications via Gmail's SMTP service when new accounts are detected. This separation ensures email delivery issues don't impact the core account creation flow.
The architecture employs hybrid communication patterns: synchronous REST APIs between frontend and Producer for immediate operations, and asynchronous Kafka messaging for event-driven workflows. This approach provides real-time user feedback while enabling scalable background processing.
For account deletion, the system uses a simpler synchronous flow. The frontend sends DELETE requests to the Producer, which removes records from MongoDB and returns immediate confirmation. Unlike creation operations, deletions don't trigger Kafka events, maintaining operational simplicity.
Containerization through Docker Compose ensures consistent environments across development and deployment. Each service runs in isolated containers with defined dependencies and network relationships. The frontend and Producer scale horizontally for increased load, while multiple Consumer instances can process events in parallel.
Error handling is implemented throughout frontend validation, Producer service exceptions, Kafka message durability, and Consumer email retries. Comprehensive logging across all layers enables effective monitoring and troubleshooting.
This microservices architecture separates concerns into discrete components, frontend for UI, Producer for account management, Consumer for notifications, allowing independent development and deployment while maintaining reliable account operations through coordinated service interactions.
6. PROCEDURE
● Download and Run Docker Desktop
● Ensure Docker is set up correctly: docker -v

Figure 3 : Checking Docker Installation
6.1. Backend Implementation
STEP 1. Create Spring Boot Projects for Producer and Consumer services, with structured code and REST Endpoints.

Figure 4: Producer File Structure
![]()
Figure 5 : Endpoint base URL

Figure 6 : Example for POST endpoint

Figure 7: Example for GET endpoint

Figure 8: Example for DELETE endpoint

Figure 9: Posting message to kafka topic

Figure 10: Consumer File Structure
Figure 11: Listening to kafka topic

Figure 12 : Triggering E-mail Notification Function
STEP 2. Create a Dockerfile for each service.
STEP 3. Create a Docker Compose file and install Kafka, MongoDB images, and add it to root directory of the project. Add the Producer and Consumer service.

Figure 13: File Structure

Figure 14: docker-compose.yaml
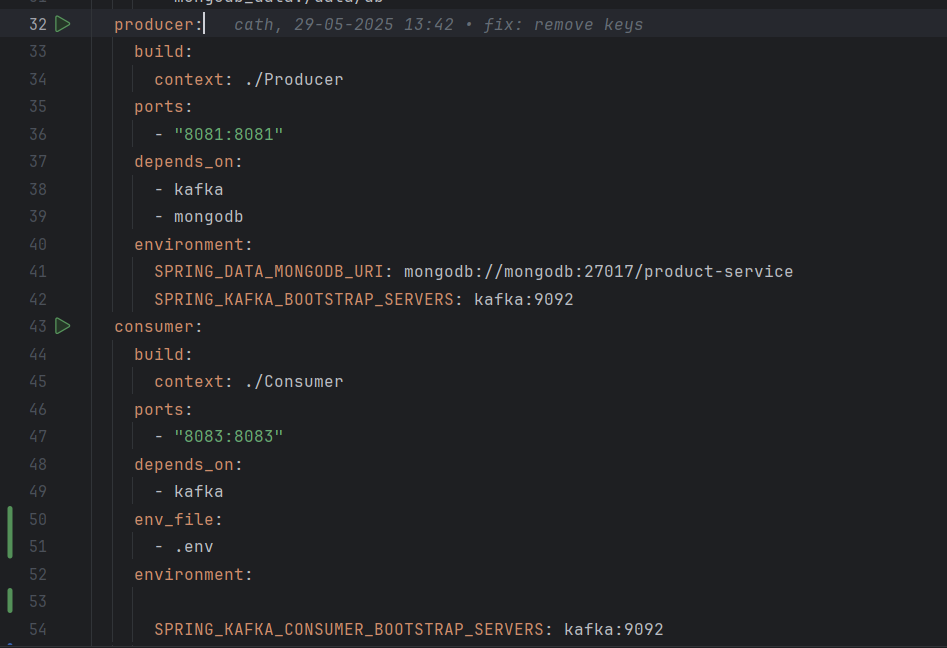
Figure 15: Producer and Consumer Service in docker-compose
STEP 4. Spin up your containers using
docker-compose up

Figure 16: Spinning up docker container
STEP 5. Check if all the services are up

Figure 17: Checking for status
STEP 6. Open Postman and test endpoints

Figure 18: Creating an account

Figure 19: Checking the kafka messages received by consumer

Figure 20: Email sent successfully

Figure 21: Fetching all accounts

Figure 22: Deleting an account
6.2. Frontend Integration
STEP 1. Create a frontend application and add it to docker compose.

Figure 23: Adding frontend service to docker compose
STEP 2. Since the Docker Container has been configured to run the Frontend application on port 3000, go to localhost:3000.

STEP 3. Enter details and Create Account

Figure 24: Entered Details

Figure 25: Account Created Successfully
STEP 4. Check if data stored in DB.
a. Connect to MongoDB volume in Docker using :
docker exec -it account-creation-microservice-mongodb-1 mongosh

b. Navigate to your database : use <db_name>
c.
Data has been stored in database product-service in collection
accounts!

STEP 5. Try creating another account with same mail id.

Figure 26: Prevents Duplicate Accounts
STEP 6. Delete an account

Figure 27: Confirmation popup
STEP 7. Account has been deleted

STEP 8. Check if changes reflected in DB – only ‘Cath’ is present

Figure 28: 'Catherine George' Account has been deleted
6.3. Enhancing Docker Security
STEP 1. Remove root user privileges by adding the following to each docker file, with necessary changes

Figure 29: Removing root user privilege
STEP 2. Store sensitive details in a .env file and add it to .gitignore
7. CONTAINER MODIFICATIONS
7.1. SECURITY MODIFICATIONS
STEP 1. Non-root user (appuser) in all containers
STEP 2. Multi-stage Docker builds
STEP 3. File permission security (chown -R appuser /app)
STEP 4. Environment variables for sensitive data
STEP 5. Custom port mappings
7.2. DOCKER COMPOSE MODIFICATIONS
STEP 1. Custom service network configuration
STEP 2. Service dependencies and startup order
STEP 3. Internal DNS service discovery (producer, consumer, mongodb, kafka)
STEP 4. Volume persistence for MongoDB
STEP 5. Multi-service orchestration
8. LINKS
1. Github: https://github.com/catherine-gi/account-creation
2. Dockerhub: https://hub.docker.com/u/kath168 (Profile)
3. MongoDB - https://hub.docker.com/_/mongo
4. Kafka - https://hub.docker.com/r/confluentinc/cp-kafka
5. Zookeeper - https://hub.docker.com/r/confluentinc/cp-zookeeper
6. Maven - https://hub.docker.com/_/maven
7. OpenJDK - https://hub.docker.com/_/openjdk
8. Node.js - https://hub.docker.com/_/node
9. Nginx - https://hub.docker.com/_/nginx
10. Producer - https://hub.docker.com/repository/docker/kath168/producer-service
11. Consumer - https://hub.docker.com/repository/docker/kath168/consumer-service
12. Frontend - https://hub.docker.com/repository/docker/kath168/frontend
9. OUTCOMES
● Successfully containerized microservices using Docker and Kafka.
● Integrated frontend with backend and database.
● Applied basic Docker security measures.
● Automated the entire workflow with one docker-compose up.
● Verified email notifications and MongoDB persistence.
10. CONCLUSION
The Account Management System successfully demonstrates a modern microservices architecture using Spring Boot, Kafka, and Docker. The project achieves seamless event-driven communication between services while maintaining security through non-root container execution and environment-based configuration.
The system effectively separates concerns: Producer handles account operations, Consumer processes email notifications, and React provides the user interface. Kafka enables reliable async communication, while MongoDB ensures data persistence. Docker Compose orchestrates all components into a cohesive, scalable application.
This implementation validates microservices patterns for building robust, maintainable systems with proper security practices and containerized deployment.
11. REFERENCES AND ACKNOWLEDGEMENT
1. Original Container Owners & Sources
● MongoDB Official Image: MongoDB, Inc. - https://hub.docker.com/_/mongo
● Apache Kafka & Zookeeper: Confluent, Inc. - https://hub.docker.com/r/confluentinc/cp-kafka
● OpenJDK Official Image: Oracle Corporation - https://hub.docker.com/_/openjdk
● Maven Official Image: Apache Software Foundation - https://hub.docker.com/_/maven
● Node.js Official Image: OpenJS Foundation - https://hub.docker.com/_/node
● Nginx Official Image: F5 Networks, Inc. - https://hub.docker.com/_/nginx
2. Academic Institution
● VIT SCOPE School: Vellore Institute of Technology, School of Computer Science and Engineering
● Current Semester: 5th Semester
● Course: Cloud Computing BCSE408L
● Faculty Guidance: Dr. T SUBBULAKSHMI
3. Learning Resources
● IITB Docker Tutorial: Indian Institute of Technology Bombay - https://spoken-tutorial.org/tutorial-search/?search_foss=Docker&search_language=English
● OSFY July 2025: https://www.magzter.com/stories/technology/Open-Source-For-You/SETTING-UP-A-SECURITY-TESTBED-IN-WINDOWS-USING-DOCKER
● Spring Boot Documentation: https://spring.io/projects/spring-boot
● Apache Kafka Documentation: https://kafka.apache.org/documentation/
● React.js Documentation: https://reactjs.org/docs/getting-started.html
● Docker Official Documentation: https://docs.docker.com/
Comments
Post a Comment